


Monday, 1 June 2015

Do you own an Apple devices? If yes, then this article will be really fruitful for you. As we know, without Apple ID, you cannot donwload apps from appstore. Creating Apple ID is compulsory for you to fully enjoy for iOS device.
If you had attempted to make Apple ID earlier then you might have been asked to enter your credit card details. I'm sure not all of us have Visa Card. However, making apple is a lot more easier without using your credit card details but you have to follow certain steps as mentioned below.
Process:
Step 1: Open iTunes and go to Appstore.

Step 2: Select any free app to download(not Paid).
Step 3: Click on Get.

A dialog box will appear. Since, you don't have Apple ID, you cannot login so you have to create one.

Step 4: Click on Create Apple ID.
Step 5: Now, a new link will appear as shown below. Click on Continue.

Step 6: Read the License Agreement and Agree the terms to proceed ahead.

Step 7: Fill up the necessary details and click on Continue.

You will directed to the payment info. Most of us get strucked here.
Did you noticed the NONE. This option is only since you tried to download free app. If you had created directly then you won't get this NONE option.

Step 8: Fill up the necessary details. Don't worry it won't ask you to enter your credit card details. Finally click on Continue.
Remember, you can also change your country.
Step 9: Go to your inbox and validate your email address.

This is the most easiest way to create free Apple ID. I did this in iTunes but you can also do this from your phone directly. Always remember to start the process by trying to download Free App from Appstore.
If you got any problems, please let us know through comments. We are always there to help you.
Wednesday, 11 February 2015

By default, the Administrator account is disabled in Windows 7 and Windows 8. Though the account you create during the setup, possess administrative rights, yet it might be necessary sometimes to perform tasks with Administrator account. There's actually no need to enable administrator account since you can execte programs that need administrative priviledges by simply right click and selecting Run as Administrator. For educational purpose it's better to learn how you can easily enable and disable Administrator account.
Process to Enable Administrator Account
Step 1: Search for Command Prompt in Start Menu. When you find it, Right click on it and select Run as Administrator.

Step 2: Type the following command and press enter.
net user administrator /active:yes

It is important that you run command prompt as administrator else you will get error as shown below:

Now you can sign out and check. You will see your Administrator account enabled.
Process to Disable Administrator Account
Step 1: Search for Command Prompt in Start Menu. When you find it, Right click on it and select Run as Administrator.
Step 2: Type the following command and press enter.
net user administrator /active:no

Hope this will be useful for you. If you have any queries please let me know.
Thursday, 5 February 2015

At present, it's better to learn different languages so that it can be helpful for you. Besides, your mother tongue you must be much more familier with English language. Here, I will be showing you how you can learn international languages like French, Spanish, English, German, Polish, Russian and many more at your home without spending a penny. I have tried this personally and found it effective.
I suggest you to download an android application named 'Duolingo'.It's completely free to download. Click here to download
After the installation, launch the application and you would see home screen as shown below. Tap on Get Started to proceed.

After that, you will see list of Languages that Duolingo offers to teach you. Choose any one which you want to learn.

Then you are prompted to choose the amount of time you can manage to learn the language in "Pick A Daily Goal".Select any appropriate one. You can always change this goal later.

I am interested in learning German Language. After the above step, you need to select your Level.If you do not have any knowledge about the language you selected then I would suggest you to select Beginner mode.

Your lessons starts from basic level and gradually increases as per your progress.

For Beginner you are given questions.After selection of picture you can listen to the pronunciation.

If you have knowledge about the language that you are trying to learn, you are tested randomly for around 5 minutes and then your test is made accordingly thereafter.
After your test is over for a day,your progress graph is made at the end.

Conclusion: Duolingo is one of the most effective free application to learn different languages without any cost. It is easier to devote time and learn language at any time. I used it for couple for months and I found this really effective.
Was this useful? Please drop your comments below.
Sunday, 1 February 2015
 Disk partitioning means the act of dividing your hard drive into multiple volumes. By doing so, you can create as many partitions as per your requirements. You can partition your drive using various 3rd party software. However, in this article I will teach you how you can effectively partition your hard drive without any software.
You don't need any advance skills. You can do it by following few easy steps mentioned below.
Process of Disk Partition
Step 1: Right Click on 'My Computer' icon and Select 'Manage' as shown below.

Step 2: Click on 'Disk Management' located at the bottom.

OR
You can also directly open Disk Management with Shortcut command.
Step 1: Open Run ( Win key + R) and
Step 2: Type 'diskmgmt.msc' and press Enter.

Step 3: Now select the volume you want to partition. I am partitioning my F: drive. Right click on it and select Shrink.

Step 4: Now enter the amount of space to shrink in MB and click on Shrink. For example: 50 Gb = 50000MB

You can see in the image below, you can see that 96 GB F: drive space has been reduced to aprrox 50GB (highlighted in Red) and the remaining space can still be used to create another partition or extend other drive space.

Process for extending your Drive
Step 1: Right click on the drive you can to extend and select 'Extend'.

Step 2: Enter the amount of space in MB that you want to extend and click on Next. You're done.

I extended my F: drive. You can see below.

Conclusion: I performed the disk partition in Windows 8.1. You can follow the same procedures in previous version of Windows. The best thing is that you can create new partition even from drive with files and extend them in Windows 8.1 which was not possible in Window 7 and Window XP without using any software.
If you have any queries then comment below. I will be always there to solve your issues.
Saturday, 24 January 2015
 Microsoft's Windows 7,released on July 22,2009, was a great success and was largely accepted by its user worldwide. After few years, Microsoft introduced completely new interface OS known as Windows 8 on October 26, 2012. As this was completely different from previous version of operating system, it was greatly criticized. Further, its users faced many difficulties regarding interface, drivers issues and so on. Thus, Windows 8 could not meet the need of its users.
After research of couple of years and feedbacks from its critics and users on Windows 8, Microsoft is all set to gain the same popularity among its user with Windows 10. Windows 10 has some major improvements over Windows 8 and has included many advance features that will make Windows 10 much more interactive, easier to use for its users.In this artcile I am going to share some some major features of upcoming Windows 10. Among these features that will be discussed below, some features are still under built and speculated to take around 3-5 months to be launched. Another great news is that Microsoft has announced that it will provide free Upgrade for PC running with Windows 7 and Windows 8.
Windows 10 will rock the platform of Operating system with its following features:
1. Cortana - Voice Assistant
 Voice Assistant is considered
 as one of the cool feature of Smartphones. Siri in iPhone, Galaxy Voice in Samsung Smartphone has made them much more interactive among its users. One can easily search, manage schedules,set alarm,etc with voice command. Windows 10 also has included this feature known as "Cortana".It is a virtual assistant which will support you alot with its features more than smartphone's assistant.It will help you to manage your pc,guide through map to get out of traffic showing you a traffic free route,save your time by checking your mails,saving your files,etc.
2.Better OneDrive Experiences
 OneDrive is popular cloud service from Microsoft. This time OneDrive has a better feature which will really make things easier than before.It will manage your music playlist,enhance your photos quality.A great feature is that it will automatically create albums for you when you upload your photos checking the time and background of pictures. Besides, another cool feature is that it helps you save disk space by deleting duplicate pictures.
3.Start Menu
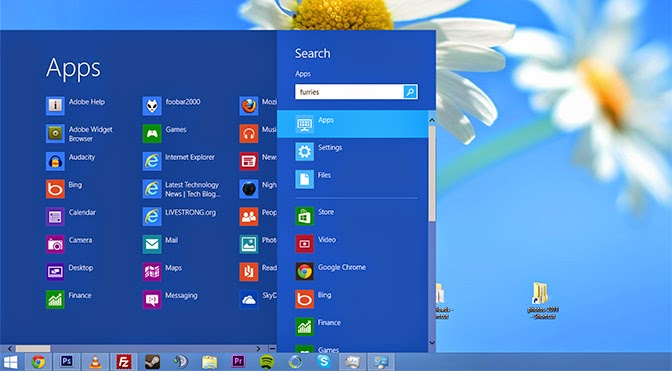 This time Windows 10 start menu will allow you to customize according to your requirement and easiness.So,this time you will not have to compromise with your start menu.It is back with some of its old tools which were not included in windows 8.
4.Virtual Desktop
Virtual Desktop is cool features and completely unique one. If you are concerned about privacy and want to hide your real deskop from others then Virtual Desktop will surely help you out. You can perform several tasks at single time using several virtual desktops and tasks performed in one desktop will not be visible in other desktop.
5.Better Gaming Experience
 Besides normal usage of PC, at present PC are also use for games.For better gaming experience windows has its its x-Box app to join multiplayer gaming and save your gameplay. Besides, the lastest Directx 12 will enhances the gaming experience and lower the requirement for the game.
6. Holographic Technology
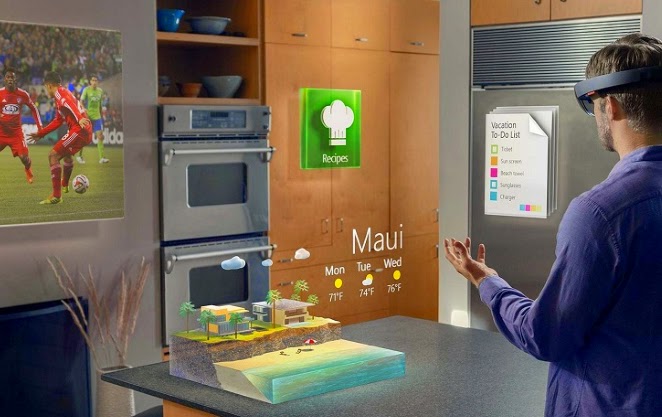 Today Holography is developing and famous worldwide.Windows 10 will let you experience the virtual world of Holography in your home. At present,you can use this technology with Skype and experience completely new way of communication.
If you would like to watch the full video of Windows 10: The Next Chapter event then Click here.
Video Reference: CNET
Conclusion: It seems that Microsoft Windows 10 will provide you with completely new experiences that the previous versions of OS lack. Users gonna surely enjoy the company of Cortana in Windows 10. If your PC have Win 7 or Win 8, then it will be better to upgrade it to Windows 10 for free.I will again update more information on Windows 10 after it's official release.
Saturday, 17 January 2015
 Hey friends , if you interested to learn C/C++ in you android device then CppDroid can help you. By using this app you can easily write and run C/C++ programs on android device. Apart from writing and running programs you can also learn many C/C++ examples and tutorials inside it. So before downloading let’s take a look on some features of CppDroid.
Features of CppDroid
- Code complete
- Real-time diagnostics (warnings and errors) and fixes
- File and tutorial navigator (variables, methods, etc)
- Static analysis Smart syntax highlighting
- Portrait/landscape user interface
- Auto indentation and auto pairing (configurable)
- Configurable code syntax highlighting (themes)
- Compile C/C++ code (no root required)
- Works offline (built-in compiler, no need of internet connection)
- Great C/C++ code examples included
- Detailed C++ tutorial and learn guide included
- Add-ons manager and auto updates
- Dropbox support
When you run CppDroid for first time, it will extract SDK which is about 150MB in size and also download and extract many examples and tutorials. Approximately 190MB of internal storage space is required to install this app. This can't be moved to external sd card because of android security. Just download CppDroid for free from below link.
Content Reference: Google Playstore
Here's official video of Cppdroid:
Here's a short discuss:
First, download and install Cppdroid from Playstore. Here's a link: Cppdroid

After installation, run the application. As mentioned above, it will take couple of minutes to download the essential files. When done, write a program. For example, lets write and execute a simple addition program.

After finish writing the program, tap on Compile icon as shown in screenshot above. After compilation is finished, tap on Run and it will execute the program. Here's a preview:

It can be helpful for you to run and test C/C++ on your device at any time. Besides running program, there are also tutorials for beginners and many more features.
Was this post helpful for you? If yes, please let me know through your valuable comments below.
If you have any queries or suggestions for you, please forward them without any hesitation. We will be grateful towards you. You can also request us to write articles on any specific topics. We will be happy to serve you.
Friday, 16 January 2015

Were you ever eager to know the saved passwords in your iOS device? Sometimes you might also want to know the passwords that your parents or friends or relatives entered in your device but didn't told you the password. Today in this post, I will be discussing how you can see those passwords.
Well due to security issues, the passwords are kept on your phone in a safe and secure place that is not accessible through regular means on the phone. However, if your iOS device is JAILBROKEN then you can easily access the list of the saved Wifi Passwords through an app called 'WiFi Passwords' developed by Malcolm Hall.
Lets get started...
For this process you must have Jailbroken device. If your device is not, then this won't be helpful for you.
Step 1: Go to Cydia and tap on Search. Type 'WiFi Passwords'.
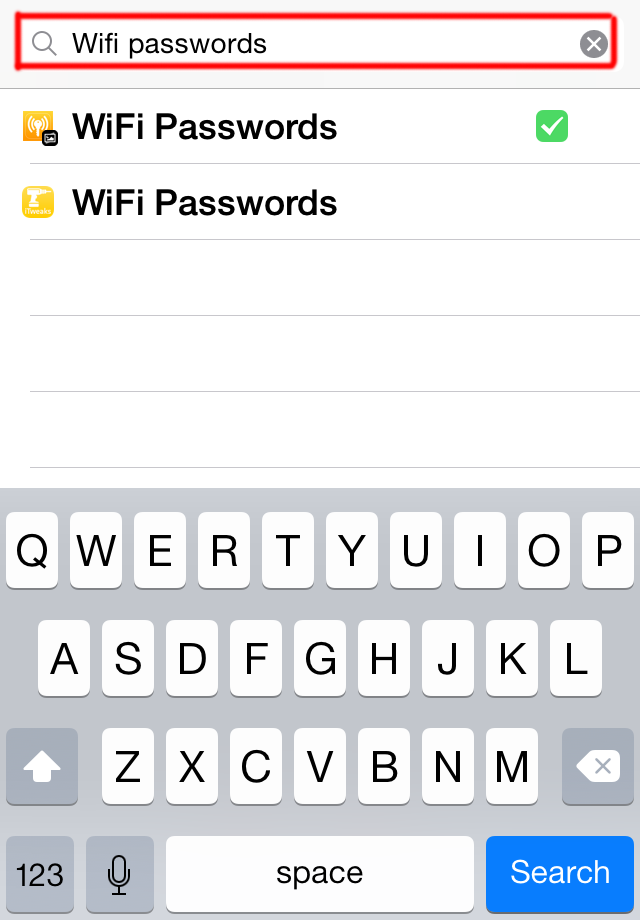

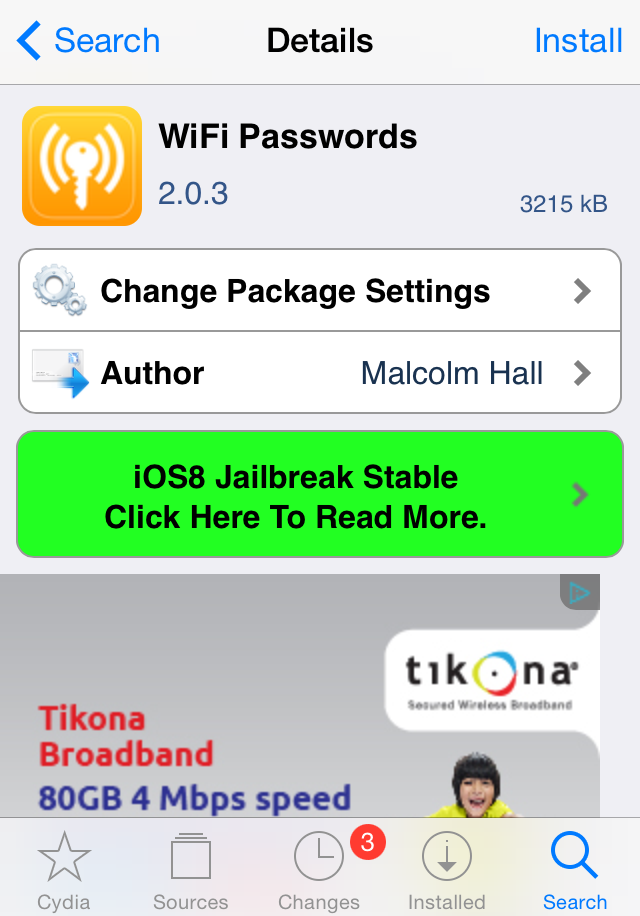
It will show you the results. Here, it showed only two results. Select any one.Current version is 2.0.3.
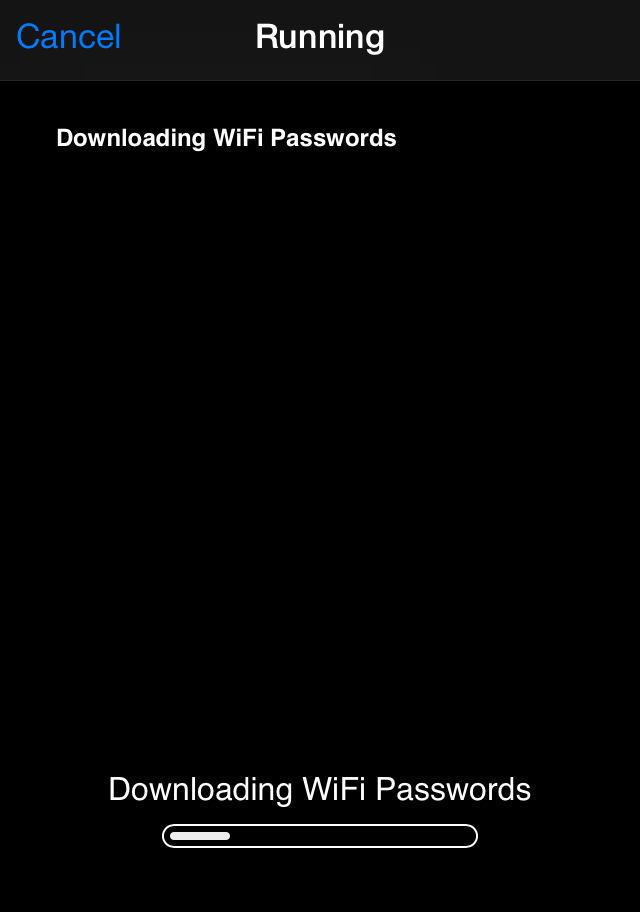
Step 2: Tap on Install and Confirm it. The filesize is approx 800kb.


If you have any queries or suggestions for you, please forward them without any hesitation. We will be grateful towards you. You can also request us to write articles on any specific topics. We will be happy to serve you.
Subscribe to:
Posts (Atom)
Visitors

Popular Posts
-
 Hey friends , if you interested to learn C/C++ in you android device then CppDroid can help you. By using this app you can easily write...
 -
 In the recent times,backing up the files online is the latest way to store the personal files and folders.Files stored in cloud are more se...
 -
 At present, it's better to learn different languages so that it can be helpful for you. Besides, your mother tongue you must be much...
 -
 Are you guys looking for PC games? As it is known to you that in today’s world 3D gaming has earned much popularity in different platfo...
 -
 There are many apps that provide free calls by offering free credits. However, after the free credits are over you need to purchase the cr...
 -
 Hey Guys! Welcome to the new tutorial. In this , you will learn to create a password protected software without any software. Most of us, ...
 -
 If you own an iOS device, then you must know that by default you have to set 4 digit numeric passcode. But there is also a feature availab...
 -
 Were you ever eager to know the saved passwords in your iOS device ? Sometimes you might also want to know the passwords that your pare...
 -
 Microsoft's Windows 7 ,released on July 22,2009, was a great success and was largely accepted by its user worldwide. After few years, ...
 -
 I love the way the Windows Start Menu allow me to access the applications easily in My PC. Have you ever wish for search Start Menu for you...